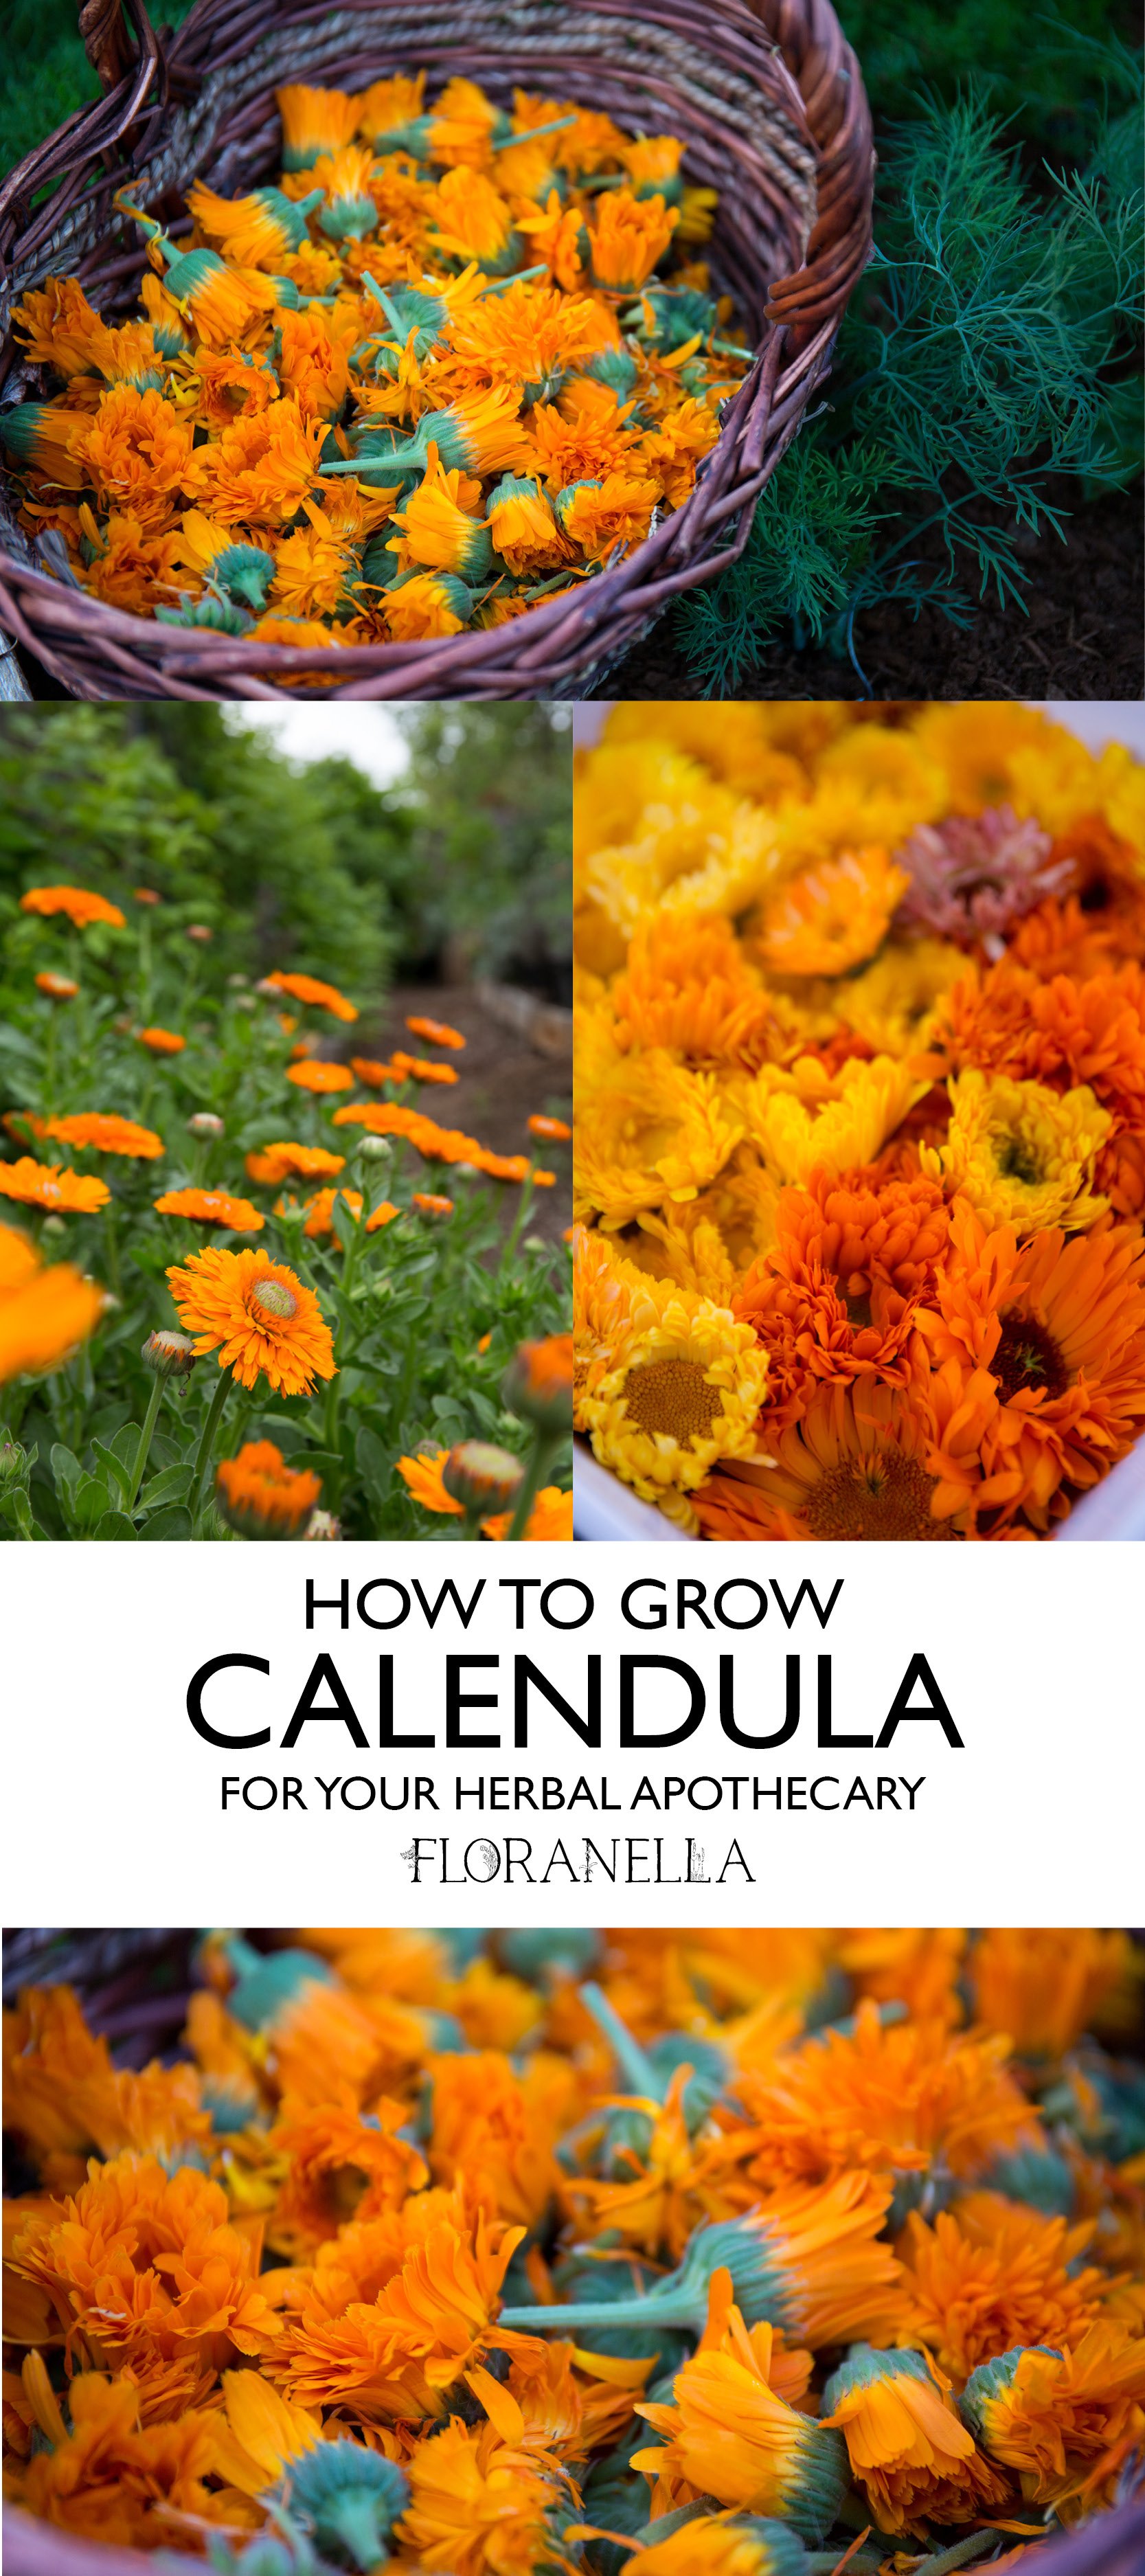
How to Grow, Harvest, Dry and Use Calendula (and Save Its Seeds!)
If I were to make a list of the top ten herbs I work with most in my apothecary, calendula (Calendula officinalis) would be pretty near the top. I use it in almost all of my topical use formulas and it also makes its way into some of my tincture blends and other remedies. A few years ago, I even grew every variety of calendula seed I could get my hands on (there were over 30 varieties at the time!) so I could observe and compare the plants for myself.
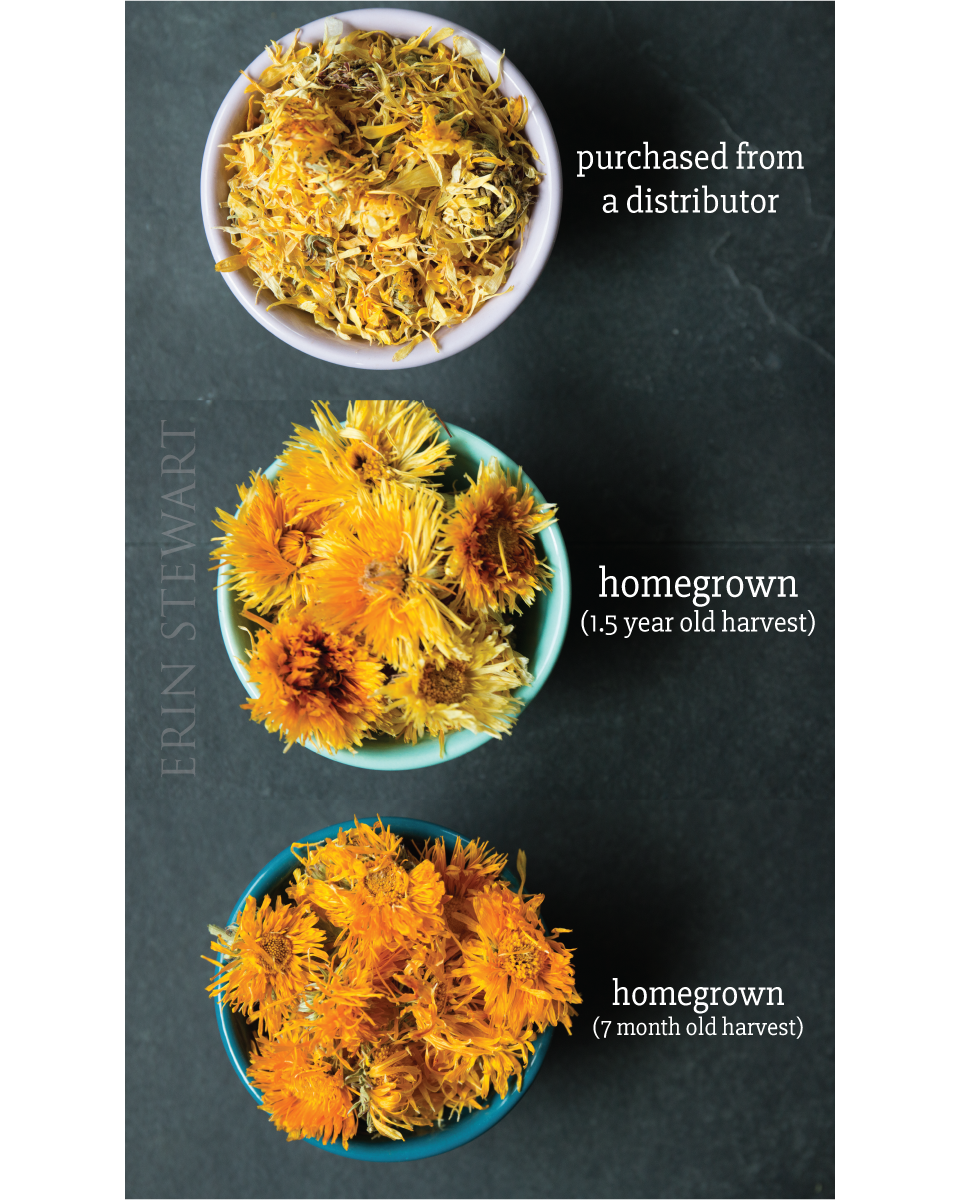
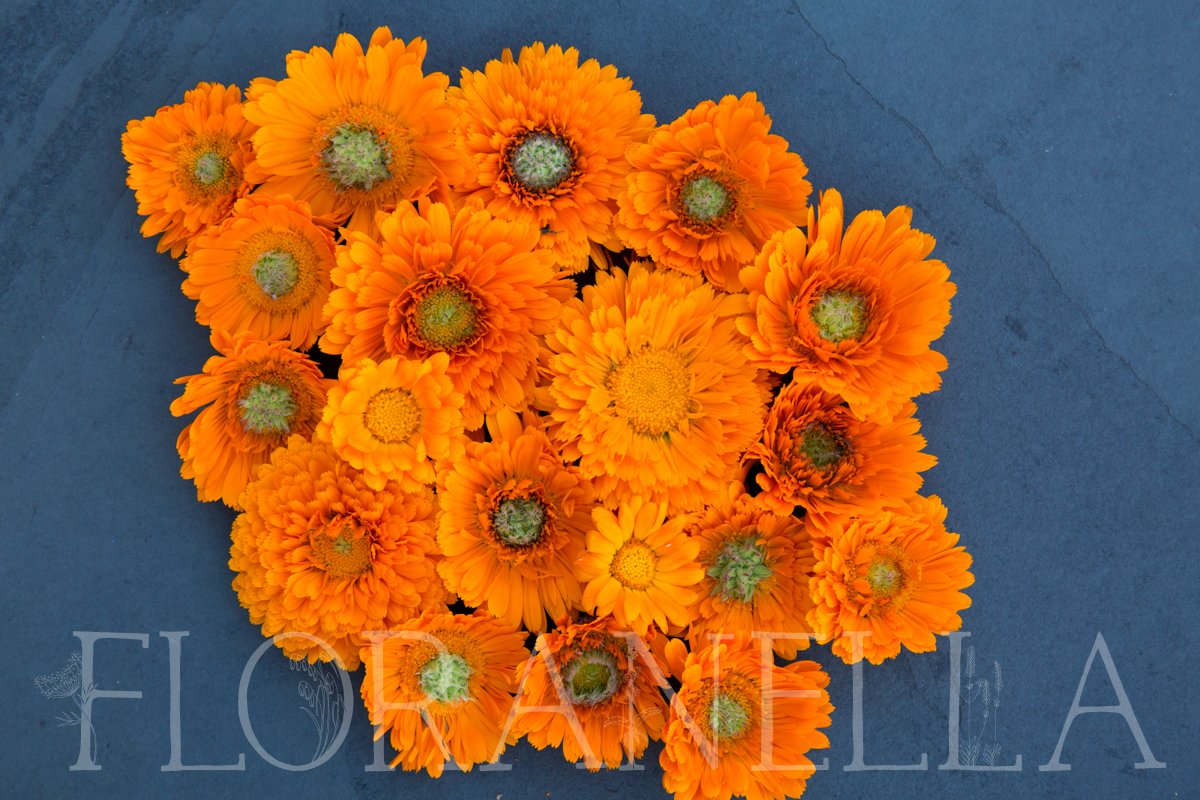
If you have ever purchased dried calendula, you may be personally acquainted with the quality issues that can come with commercially available calendula flowers. They are often quite old by the time they make it to a distributor who turns around and resells them, have often lost their vibrancy and potency by the time they get to you, and are just not nearly as satisfactory in quality as homegrown or fresh-from-the-farm calendula can be. I took some photos to illustrate this several years back. You can see them below. Notice how pale the distributor-purchased calendula flower heads are as compared to the homegrown ones, even several months after harvest. Additionally, the jostling of repeated shipping and handling has also left the distributor-purchased plant material in pieces.
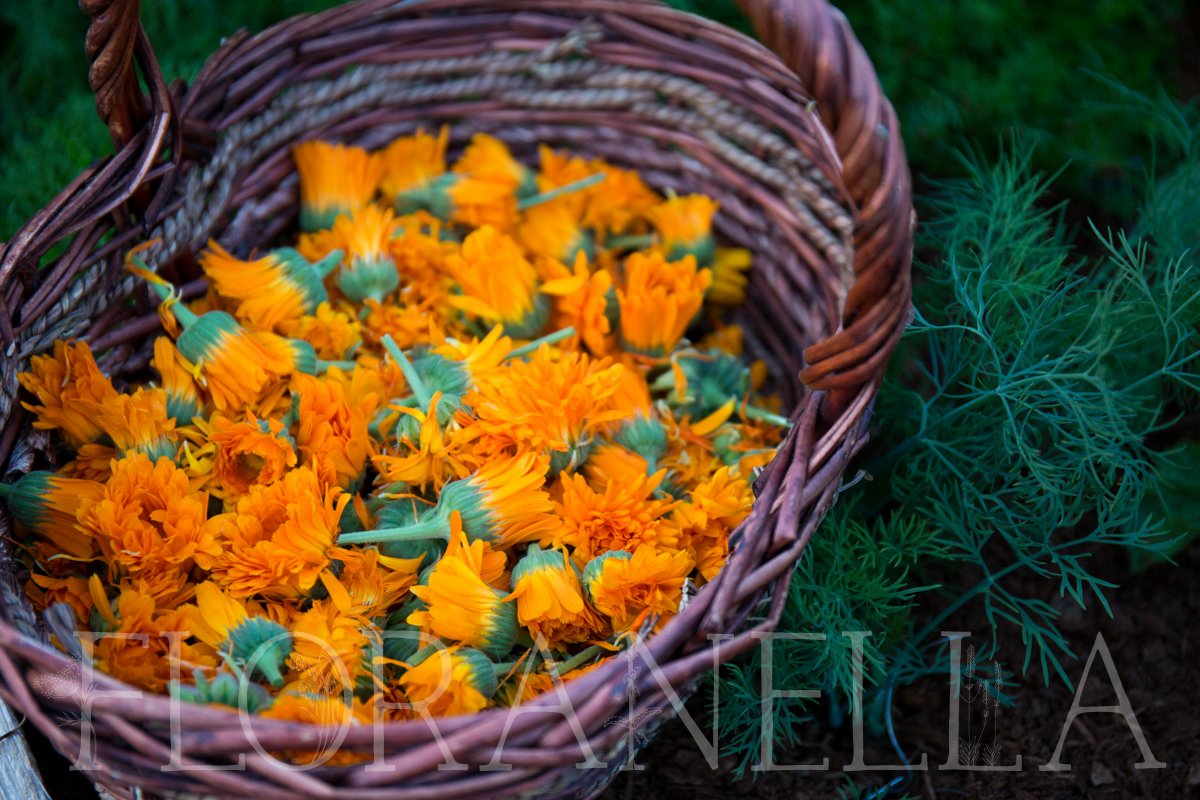
For additional reference, the photo just above shows you what freshly dried calendula from my garden looks like. When it still looks fresh and vibrant like this is when I prefer to make infused carrier oils, tinctures, and other shelf-stable formulas with it. I believe it makes a big different in the quality of my finished remedies.
I do not bring up this quality issue as a means of denigrating distributors. I, too, purchase some of my herbs from them at times, especially if an herb they carry is one that is especially difficult to grow in my area or if I just do not have the garden space to grow enough of it for my apothecary. However, with something as easy-to-grow and versatile to grow as calendula, I think it is well worth the effort to grow it yourself if you want access to high quality plant material for your remedy making. It is my hope that this article will help you feel empowered to plant some calendula in your own garden.
Note: You might not be in a position to grow your own herbs right now, and that is also okay! There are several small, organic herb farms that sell their freshly harvested and dried calendula flower heads direct to consumer. You might pay a little more than you would if you purchased your calendula from a distributor, but the quality difference is worth the price and you will be supporting a small farm.

Gardeners of old called this sunshiney plant marigold (no relation to the Tagetes marigold), pot marigold and calendula, the name by which we now know it.
Calendula is in the Asteraceae or daisy family. It grows best in full sun with well-fed, well-draining soil. I have also grown it in part sun / part shade and it will still flower but it may produce less flowers and be a bit less potent than sun-grown calendula would be.
In most of the world, calendula is grown as an annual plant, which means that you replant it from seed each year. It is hardy to USDA growing zone 8, so if you live in a zone that is at least that warm, you can grow calendula as a perennial. In my zone 8b garden, it thrives even in wintertime. One year, I saw a calendula flower head cheerfully blooming under 4" of snow.
If you are lucky enough to be able to grow it as a perennial, calendula will often be in full flower by February or March. Where the plant is grown as an annual, you can expect flowers in late spring.
If your garden is in a warmer growing zone, give calendula plants a bit more space (18-24") than you would if you were planting them as annuals (12-18"), as they tend to spread out a bit as they age and need more room. The plants tend to grow between 1-2 feet tall.
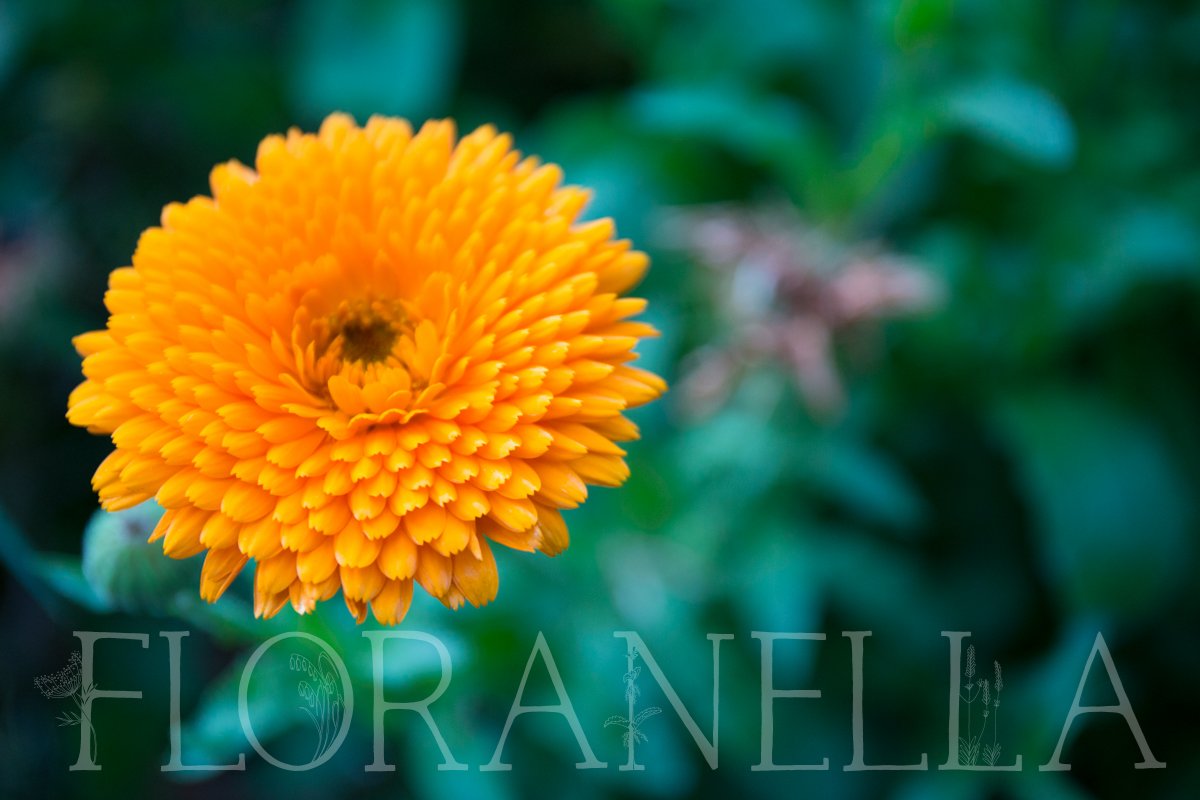
There are many different varieties of calendula, each with its own unique flower color or form. If you are growing your calendula for its appearance and the pollinators, feel free to experiment with whichever varieties suit your fancy. When growing it for medicinal use, you will want to choose a more resinous variety like Calendula officinalis ‘Resina.’ This variety produces more of the resinous constituents than some of the others and those compounds contribute greatly to the therapeutic benefits of calendula. If you are not sure if the variety you are growing is resinous, spend some time harvesting flower heads from the plants in your garden. If your fingers get sticky quickly, the variety you are using will likely be at least somewhat effective.
Pollinators love calendula plants. Those growing in my garden are consistently visited by at least 7 different kinds of bees, among other things. Consider growing extra plants to reserve for them if you have the space.

Starting Seeds
Calendula seeds are very easy to get started. Place them in a small pot, seedling tray, or directly into the garden soil and cover them with about 1/4” of soil, then water them in. Keep the seeds moist and in a place where they will be exposed to sunlight or a grow light until they sprout. Once the plants have a couple of sets of true leaves (they will appear after the first two sprout leaves - called cotyledons - come up), you can plant them out in the landscape or in larger garden pots.
Fertilizing the Plants
I like to feed my calendula plants with a bit of liquid seaweed fertilizer or a good general fertilizer (look for something that has a pretty even ratio of nutrients, like 5-5-5 or 10-10-10 at first) until they are a bit bigger; then I switch to a bloom-encouraging fertilizer (3-7-4 or 3-9-4 are ratios I have seen in high bloom fertilizers) when I start seeing flowers. Once the plants are established, I only feed them about once a month during the growing season, and I make sure the plants are kept watered regularly but without letting the soil become soggy.

Harvesting Calendula
Once flowers start opening, you will want to harvest them at least every 2 to 3 days, but only on dry days. You do not want to harvest them if they have any water on them. During peak blooming time, you will likely need to harvest daily. Pick the flowers on the day they are fully open. They open once the sunlight hits them in the morning. Any that have not yet fully opened when the sun is hitting them are not yet ready.
When I harvest, I like to leave a selection of flower heads behind for the pollinators, or to leave some plants unharvested. If you do this, you will still want to deadhead the flowers you have left behind at least once a week so you can keep the plants from going to seed. This will encourage them to keep blooming throughout the growing season.
When harvesting, I like to pull the flower head upward with my hand underneath it, palm facing up, or to cut the flower heads right off into my gathering basket or tray with a pair of sanitized garden snips. I come back through and trim the now flowerless stems down to where the leaves are if I want the plants to look more tidy.
Your hands will get sticky from the resins in the involucre of the flower heads (the green bracts on the bottom of the flower head) if you harvest with your hands. Most of the time, the sticky residue will wash right off with soap and water once you are finished harvesting, but you can also use a little bit of olive oil (or any fatty oil) if necessary for stubborn bits. Massage a bit of the oil into your hands where the sticky residue remains, then rinse and wash with soap.
Drying Calendula
Calendula flower heads are best dried in a single layer on screens in a warm area away from direct sun with excellent air flow. The blooms are thick (the flower centers, especially), so it is important to make sure that all of the moisture is gone out of the blossoms before storing them or you will risk spoiling the batch. Make sure you check the flowers after about a week of drying time and if there is any moisture left in the center of the blooms, let them dry longer. They can often take two to three weeks to dry completely.
Some folks like to use fans or dehumidifiers in their drying room when they process their calendula to help speed the process along. If you live in an area with a humid climate, you may prefer to use that method. In my area where the air tends to be more dry during the growing season, I have not needed to use fans or dehumidifiers when air drying.
You can also dry your calendula in a dehydrator. I prefer to dry herbs at lower temperatures to help retain some of the heat-sensitive constituents when I do use a dehydrator. If you want to dry your calendula in a dehydrator, I recommend keeping the temperature under 100 degrees Fahrenheit.

Saving Seeds
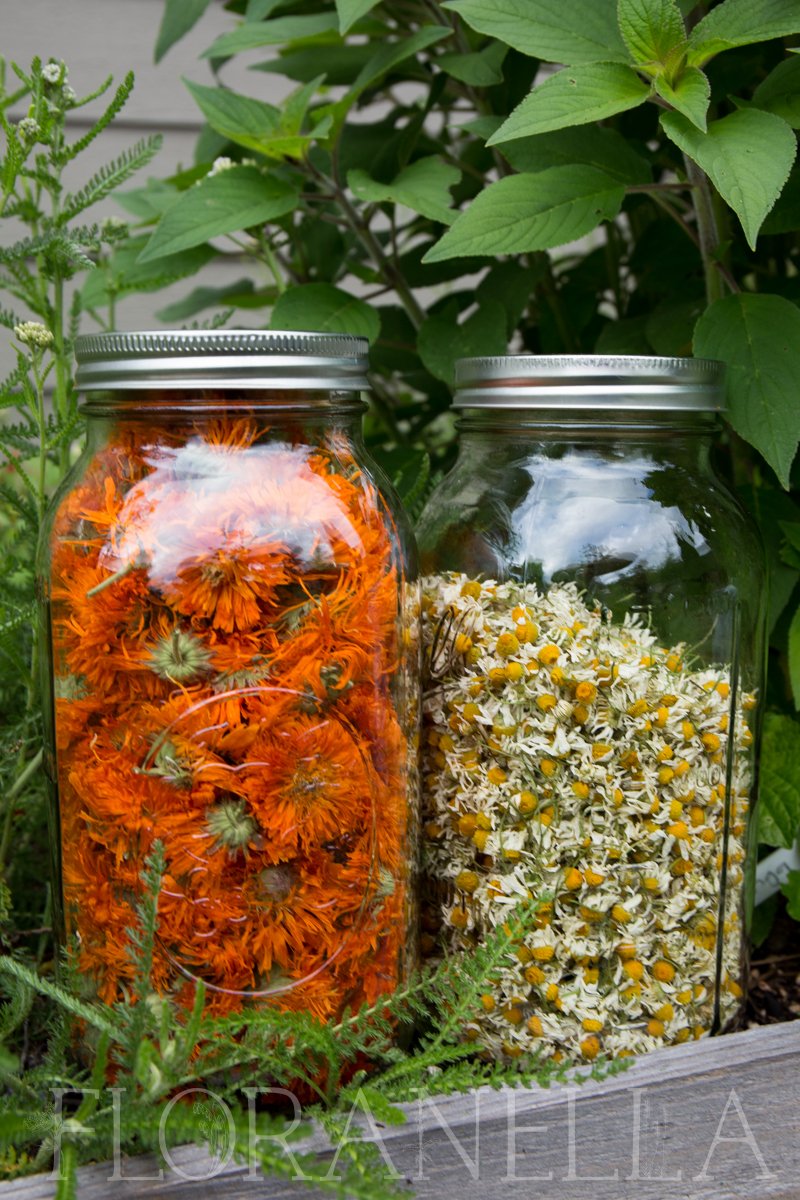
Calendula plants are prolific seed producers. The jar in the photo above is filled with calendula seeds from just one or two plants in my garden! If you want to save seeds from your plants so you can grow them in future growing seasons, leave some flowers behind on the plant when you are harvesting. Sometimes I will just let one entire plant go to seed instead of harvesting from it rather than leaving some flowers behind on a plant from which I am harvesting.
When you do not harvest the flower heads, they will eventually mature and produce seeds. When the seeds look brown and dry and easily fall from the flower head when you rub your hand over them, harvest the flower head and transfer the seeds into a clean, dry jar or envelope for storage. Don’t forget to label it with the year of harvest so Future You can know how old the seeds are. If there is any moisture left in the seeds when you harvest them, lay them out on a piece of paper or paper towel for a few days to finish drying out before storing them to avoid spoiling the batch.

Using Calendula in the Apothecary
Once you have a batch of calendula drying in your apothecary, there are so many ways you can work with it! The flower heads are edible. Try adding the individual florets (the petals) to salads, rice, baked goods, mashed potatoes, roasted veggies, or other dishes. Be cautious, however, if you are allergic to other members of the Asteraceae family. There are some people who are also allergic to calendula.
Some things you can make with your dried calendula flower heads include:
Infused carrier oils (learn how to make them here)
Salves, balms and ointments (learn how to make them here)
Body butters
Calendula lotion bars (I have a recipe for them here)
Trauma oil (learn how to make and customize your own here)
Herbal vinegars and salad dressings
Herbal tinctures
Herbal compresses and poultices
Lotions and creams
Skin care recipes
and more!
Calendula is especially suited to applications for the skin (those resinous constituents it contains are marvelous for skin repair), mucous membranes, and the digestive tract, so keep that in mind when formulating with it.
If you would like to learn more about how to work with calendula in the apothecary, it is one of the plants we cover in the Materia Medica section of our Herbal Aromatherapy™ Certification Program.

About the Author
Hi there, I’m Erin! I am the main instructor here at Floranella. I am a clinical herbalist, aromatherapist, artisan distiller and organic gardener based in the Pacific Northwest. Here at Floranella, I teach people how to work with plants safely and effectively from the garden to the apothecary. Thanks for being here! I’m glad you stopped by.