How to Process Rose Hips for Your Apothecary

It is late October as I write this and I am harvesting the last cluster of vibrant, ripe rose hips from my Rosa rugosa plants this week. I usually harvest homegrown rose hips in two batches – one soon after the first or second frost when the hips start to feel a little softer and look a little more translucent than they do before they are ripe, and one more batch a couple weeks after that when the clusters that were not ready yet the first time look ripe.
When rose hips are ripe, their skin starts to feel a little bit like the skin of a ripe plum – fleshy, with a little bit of give to it, but not mushy like an overripe peach.

If you want to grow roses yourself so you can work with their petals and hips in your kitchen and apothecary, I shared my favorite roses to grow in this post.
If you are gathering wild rose hips, just about any species will do, but the rugosa rose hips will be much easier to process. Their hips are much larger than most of the other species and with something like rose hips, the more usable fruit you can get for your time, the better. Rose hips can take awhile to process, as you will see. It is not that they are difficult to process; they just take time. There are shortcuts but I find that this is my preferred method. For that reason, when I harvest hips, I usually harvest them from rugosa plants.
To learn more about the roses I prefer to grow for apothecary / aromatherapy use, click here.

After you have harvested your rose hips, you will want to remove the sepals from the bottoms and any remaining stems from the tops, then give them a good rinse in clean water. I usually rinse a few times- until the water runs clear – to make sure mine are clean because I live in an urban neighborhood.

Once your rose hips are clean, prepare three bowls – one to place your seeds and pulp in and another to place the usable fruit in. The last bowl will be your working bowl. Fill it with a couple inches of water. It is a lot easier to process rose hips when they are wet.
Rose hips are filled with seeds and fine hairs that can be irritating to the skin and mucous membranes, so when we process rose hips, we remove all of those hairs and seeds from the fruit so all we are left with is the fruit pulp and skin.
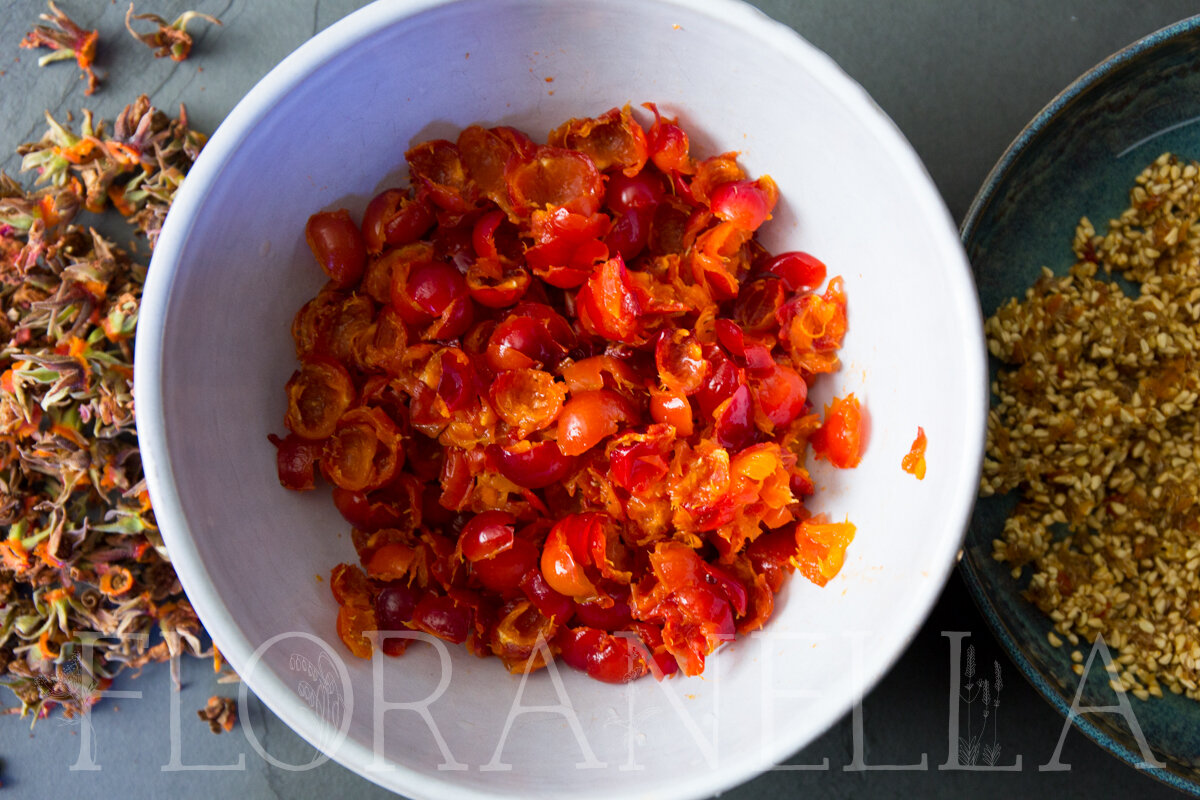
Using your fingers, split your rose hips down the middle while keeping your fingers and the rose hip you are working with under water. Use your thumb to scoop / scrape out the seeds and hairs and transfer what remains – the skin and fruit – to one of the bowls. As you continue working, you will get to a point where the working bowl with water in it has enough rose hip hairs in it to irritate your skin a bit as you work. When that happens. Pour your working bowl’s contents through a strainer (if you are wanting to save the seeds), refill the working bowl with water, and continue.

You can see what the seeds and hairs look like once they have been removed from the fruit in the photo above. If you are planning on saving seeds, you will need to separate out the seeds from the hairs next. You can do this by swishing the seed/hair mixture through a sieve with holes large enough to let the hairs pass through, but small enough to leave the seeds behind. Lay your seeds out on a tea towel in a single layer to allow them to dry before storing.
Once you are finished, you will have a beautiful bowl full of rose hip fruit! You can now either spread the fruit out in a single layer to dry, stick it in a dehydrator to speed up the process, or work with the rose hips fresh. I like to work with most of my homegrown rose hips fresh, so at this point I will usually either make rose hip vinegar or rose hip syrup.
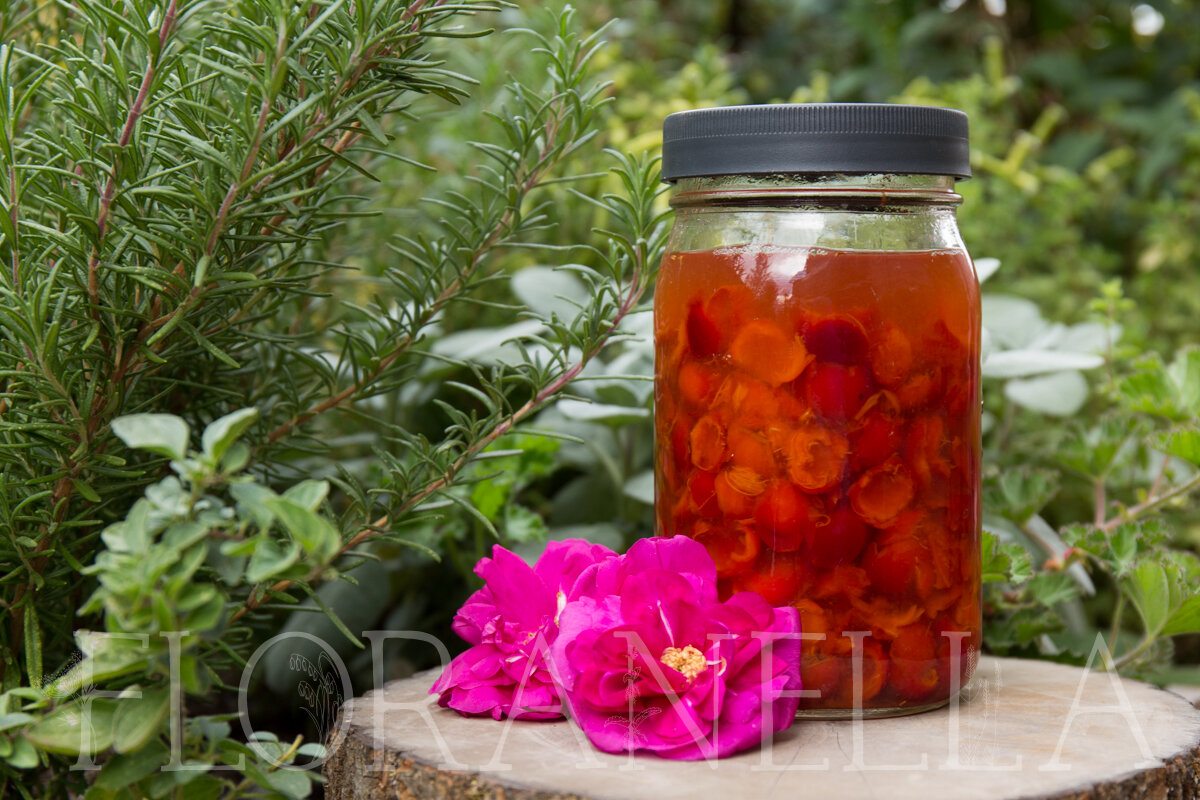
Rose hips are high in vitamin C, which is soluble in vinegar and sensitive to heat, so I like to make rose hip vinegar and use that as a tonic during the cold and flu season. To make it, place your rose hips in a glass jar, cover with raw apple cider vinegar, and allow to infuse in the fridge for 4-6 weeks. You can then strain out the fruit pulp and compost it (or dehydrate it, feed it to the chickens, mash it up and use it to make a sauce or spread, etc.) and add honey to taste. Keep the mixture in the fridge and take a teaspoon to a tablespoon a day diluted in a bit of water or juice as a nutritional supplement.
For added vitamin C, try mixing in other vitamin-C rich fruits in your vinegar infusion – amla fruit, orange or lemon, cherry…you can play with fruits and flavors to create something entirely your own! You can even add rose hips to your fire cider recipes to change the flavor profile.
Would you like to learn more about working with roses in your apothecary? Roses are one of the many plants we study in-depth in our Herbal Aromatherapy™ Certification Program here at Floranella.
What are some of your favorite ways to work with roses? Tell me about one of them in the comments below. I would love to connect.
Much love,
Erin

About the Author
Hi there, I’m Erin! I am the main instructor here at Floranella. I am a clinical herbalist, aromatherapist, artisan distiller and organic gardener based in the Pacific Northwest. Here at Floranella, I teach people how to work with plants safely and effectively from the garden to the apothecary. Thanks for being here! I’m glad you stopped by.
